shed flooring

All You Need To Know About Shed Floors

Jared Reiff - January 10, 2024

☀️Summer Sale!!☀️

10% off 2023 limited inventory
5% off everything else
(excludes upgrades)
View Sheds On Sale Design Your Shed
shed floor in Ga

The most important section of the shed is the floor. The shed floor is what gets damaged the fastest due to the natural wear and tear from being on it so much. Not to mention, however, if you are using your shed, and there is probably furniture or other heavy items sitting inside as well. Shed floors can also be susceptible to damage. Bugs and water can play a significant role in that. Luckily, Shed floors are straightforward to repair and maintain, and we will walk you through all you need to know about how to upkeep and create the best shed floor.

A shed floor is more than just something you walk on. Since a shed is the best way to create storage for your tools, lawnmowers, and gardening supplies, a shed floor helps to protect and house those tools. You could also use the shed for storage, a playroom, or a workspace. Sheds are excellent for backyard uses, and the shed floor makes it all possible.

Contents

Shed Floor Insulation

Fiberglass is the best insulation material when insulating a shed floor due to its affordability and performance. Insulation helps prevent heat loss as well as prevent your pipes from getting frozen. Insulating your shed floor will keep your shed warmer in the winter and cooler in the summer since the insulation prevents air from quickly seeping to the outside. Here is how to properly insulate a shed floor. 


First, you need to know what type of insulation you’ll use. Here are some of the insulations to choose from as well as their pros and cons. It is critical to know the types of insulation you’re going to use for your project as well as the advantages the insulation has.

Fiberglass – Fiberglass is composed of glass fibers reinforced by a plastic matrix. It is lightweight as well as effective insulation for shed flooring.

Fiberglass Pros

    • Lightweight insulation 
    • Affordable Insulation
    • Easy to insulate
    • Non-flammable
    • Weather-proof insulation

Fiberglass Cons

    • Skin irritating 
    • It could cause lung disease if a mask is not worn

Rigid Foam Board – Foam board is one of the best insulations for shed floors. Rigid foam insulation is moisture-resistant and can be used for multiple areas. For example, exterior walls, attics, basements, and floor joists.

Rigid Foam Board pros 

    • Great for preventing moisture
    • Water-Resistance  
    • Prevents unwanted air leaks
    • It has a high R-value (it is highly effective insulation)
    • Fire Resistant

Rigid Foam Board Cons

    • Expensive 
    • Sunlight, UV light sensitive

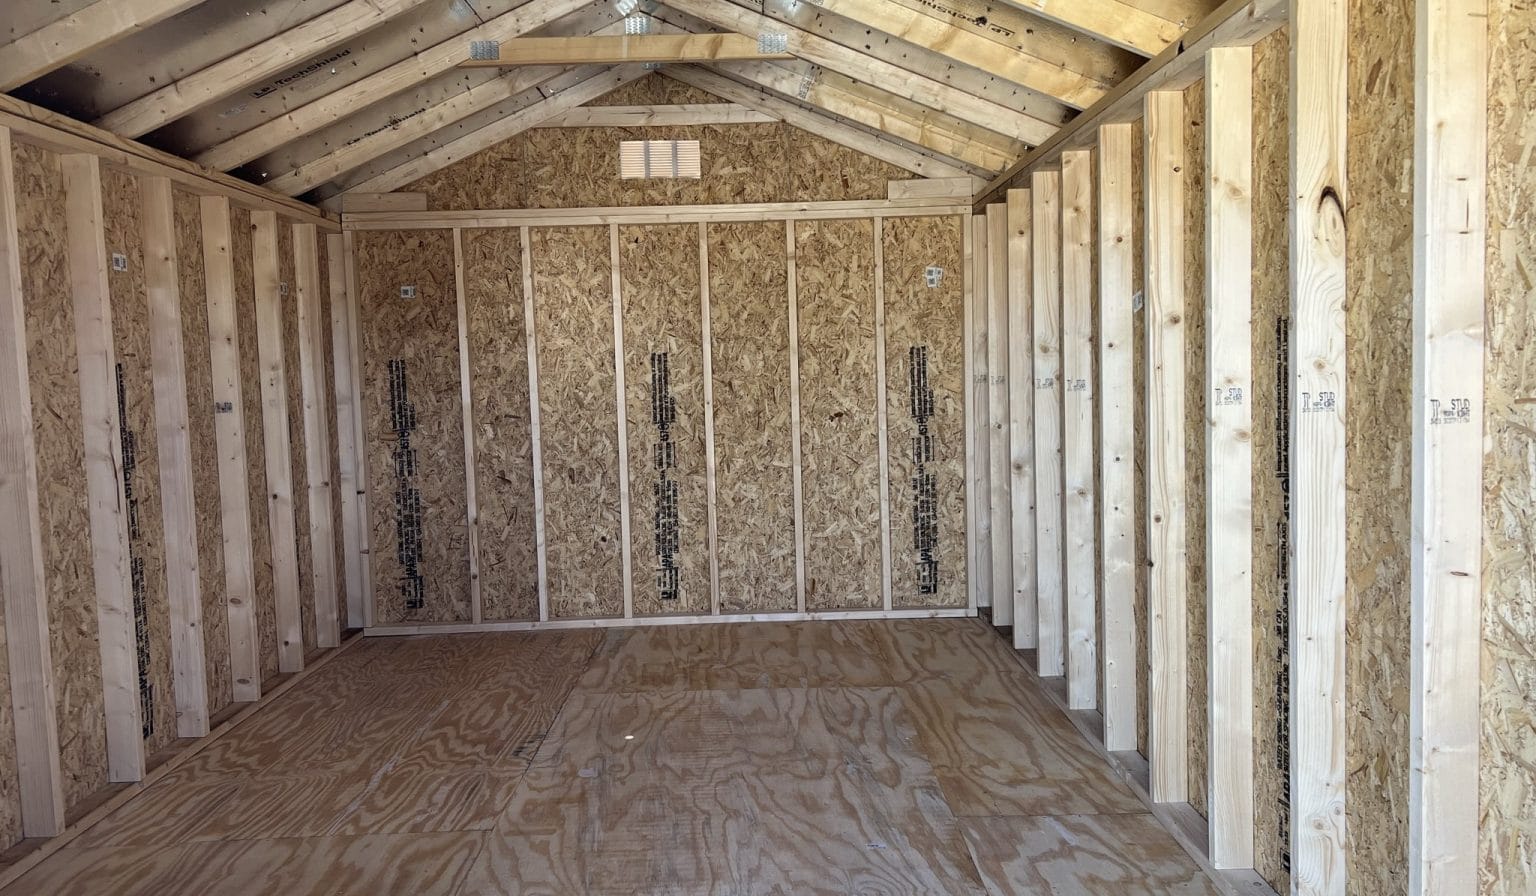
Second, you can insulate the shed floor from the top by removing the subfloor or from the bottom of the shed by going under the shed to insulate the shed floor. We will walk through how to insulate a shed floor from the top, which is the easiest. The purpose of going under the shed is if you can’t remove the subfloor because it is glued and nailed down or if it’s a finished floor.

Third, you need to remove everything in your shed. We recommend using a rigid foam when insulating your shed floor because of its effectiveness and durability, as well as it is being easy of insulating. After you’ve taken the subfloor off, you can start by measuring the spacing between the shed floor joists. And start cutting some boards using the measurement you’ve taken. These boards will support the rigid foam insulation to lay on so it doesn’t fall under the shed. 

Fourth, Start nailing the boards between the floor joists. When nailing the blocking boards to the floor joist, they have to be a maximum of 4’’ to 6’’ apart from each other. After all blocking boards are installed, you can start measuring the rigid board to the appropriate size for the insulation. Before insulating the rigid foam into the spacing of the floor joist, use liquid nails to put some glue on the side of the wood joist and the blocking boards. Once you’ve glued the appropriate spots, you can install the rigid foam on the floor joists. Make sure the rigid foam is airtight, and use ring-shanked nails to fasten it. After every spacing between the floor joist is insulated, you can re-install your subfloor.

How much weight can a shed floor hold?

10x16 shed in sandersville ga

A shed floor can hold about 20 lbs per square foot. If your shed is 10×12, your shed floor can hold about 2,400 lbs in total. 

How to build a floor for a shed?

IMG 1685

Building a shed floor is relatively easy. Whether you’re building a new shed floor or renovating an existing one, there are multiple ways to make a shed floor. We will start with the simplest way. If you’re wondering how to choose the right size shed you need check out this article.


First, there are some rules and regulations. These must be followed before we start building so we don’t need to take our shed apart later. It differs in states and counties, so make sure you visit a local county website or call them to get a permit if you’re building a new set of floors.

Second: You must choose the location if it is a new shed. Making sure everything is flat, and level from the start is critical. Get a 4×6 or a 2×4 wood, place it on the ground where you want to build the shed, then level it out using a 6-foot leveler. Use three 4×6 pressure-treated pieces of lumber as a skid, separate them evenly, and level side to side and front to back. Lay a 2×4 on top of the 4×6 pressure-treated lumber and check the level using the 6-foot leveler

Third, If you’re using your shed for lightweight things, 2×4 floor joists would be just fine. Start placing the top and bottom 2×4 on the skid, make sure they are straight and put the floor joists in between the top and bottom floor joists. Measure the top and bottom lumber to 16″ in the center. Start nailing or screwing your boards into place. Used a coated treated screw so they won’t rust.

Fourth, we need to make sure the entire thing is square. You do that by diagonally measuring each corner and plumbing it to match the same number. After everything is fair, you can start stitching the floor joist to the 4×6 skids using an angle bracket on four corners of the floor joist. Screw the angle brackets using a 1″ ¼  coated screw. You can lay down your plywood and screw the plywood every 6 inches using a 1″ ½ screw. The easiest way to screw plywood is to screw one corner, go to the opposite side that is aligned, and screw that side down.

What is shed floor joist spacing?

Spacing in shed flooring means the space measurement between floor joists and how far they are apart. Some builders use 12″ center and 16″ center, which is the most common flooring and wall spacing. The spacing between the floor joist should be centered every 16″ inches. Which will give your floor durability and strength. On most tape measures, the spacing of 16″ is marked for you on the tape measure, making it easier.

Does shed flooring need to be pressure treated?

Definitely. A pressure-treated floor joist and skid are very important because pressure-treated lumber lasts longer when coming in contact with excessive moisture. Pressure-treated lumber is insect and fungus-resistant and will not rot like regular wood.

Should you use 2×4 or 2×6 flooring?

You can use a 2×4 lumber if you don’t use your shed for heavy equipment. But 2×6 is the recommended lumber for floor joists since they are much more durable and stronger than 2×4 lumber.

Shed Flooring Questions

Can a shed floor be replaced?

A shed floor can undoubtedly be replaced. If your shed floor has a rotted spot or is simply old and you want to replace it, it is simple to do so. If your shed floor has rotted and you want to replace it, you need to remove everything from your shed and cut out the rotten area using a circular saw. Ensure the circular saw is set to ½ depth because you might cut wires or pipes if you have any under your floor. Get a piece of 2×6 lumber and cut it 10’’ inches bigger than the hole you cut. Place the 2×6 under the subfloor and screw it in using galvanized screws. 

Can You Use Carpet For A Shed Floor?

You could use a carpet to finish your shed floor with. Installing carpets in sheds will improve the air quality in your shed as well as keep you warm. Carpets need limited maintenance as well as are faster to install for sheds.

Can you paint a shed floor?

Absolutely. Painting your shed floor will seal air leaks in the subfloor and prevent splinters. You could paint your shed floor multiple colors for a stylish look in your shed. Painting your shed floor will make your shed floor dust free as well as cover up any cracks and holes in your shed floor.

Shed Flooring covering options pros and cons

Epoxy

Epoxy flooring is one of the leading flooring systems. Epoxy flooring is affordable and customizable. There are multiple advantages and disadvantages of epoxy for your shed floor. 

 Pros 

  • Longevity
  • Affordable
  • Water-resistant flooring

Cons

  • Slippery
  • Strong smell

Interlocking tiles 

Interlocking tiles are tiles that fit together tightly without any use of adhesives. These tiles are great for sheds since they are easy to install and are more affordable than most other shed floor coverings. Here are the pros and cons of interlocking tiles 

Pros

  • Easy installation
  • Reduces dust
  • Load bearing of 4 times the concrete slab
  • Durable

Cons

  • Colors fade over time
  • Can be affected by temperature change

Linoleum

Linoleum flooring is one of the most accessible shed flooring materials to clean and maintain. When it comes to shed flooring, most people pick linoleum flooring since it doesn’t reflect scratches and doesn’t show dirt. Here are some of the advantages and disadvantages of linoleum flooring.

Pros

  • It’s very durable, with a lifespan of 20-40 years
  • Affordable
  • Easy to maintain and clean
  • Scratch resistant 
  • Eco friendly

Cons

  • Strong installation smell
  • Isn’t moisture resistant 

Vinyl

Vinyl is a beautiful and stylish flooring with multiple options of colors to choose from. Vinyl flooring is very durable as well as water-resistant, which makes it great for shed flooring since sheds are prone to spills and excessive exposure to moisture. Here are some advantages and disadvantages of vinyl flooring.

Pros

  • Affordable 
  • Durable and long-lasting
  • Water-resistant
  • Easy to clean and maintain
  • Dent and scratch resistant

Cons 

  • Fades due to sunlight
  • If an area is damaged, the whole floor has to be replaced.

How To Properly Take Care Of Your Shed Floor?

Shed floors could get damaged and start rotting if proper care is not taken. Caring means keeping up with the floor’s maintenance and cleaning it. With these easy steps, you could save money and time on your shed floor. Here are a few shed floor maintenance checklist items.

  • Clean around the shed, which will prevent mildew and mold growth on your floor
  • Check If you have any leaks and cracks in your shed floor
  • Stain coat your shed flooring which will protect it from excessive moisture exposure 
  • Keep your shed floor free from pests by not letting standing water accumulate near or on the shed floor. 
  • Keep your shed clean as much as you can. Overall keep the perimeters clean as well. 
  • Don’t stack firewood near your shed. Pests enjoy the dried-out wood. They are also the main reason for floor rotting, so ensure there is no vegetation growing near a shed. 
  • Add gutters to your shed roof if you don’t have any. Gutters drive away rainwater from your shed floor. If you don’t have a gutter installed, that could weaken your shed floor since all the rainwater will accumulate in the foundation. 

Sheds And Shed Floors From Durastor Structures

We are experienced shed builders located in GA. If you are looking for sheds and want to customize them to your taste and style, submit a free quote. You can also see the sheds we built and delivered to our customers here. We also repair existing shed floorings that are damaged. All you have to do is contact us today. 


Design Your Own Shed or Get It Pre-Built!